
- November 27, 2023
- admin
- 0
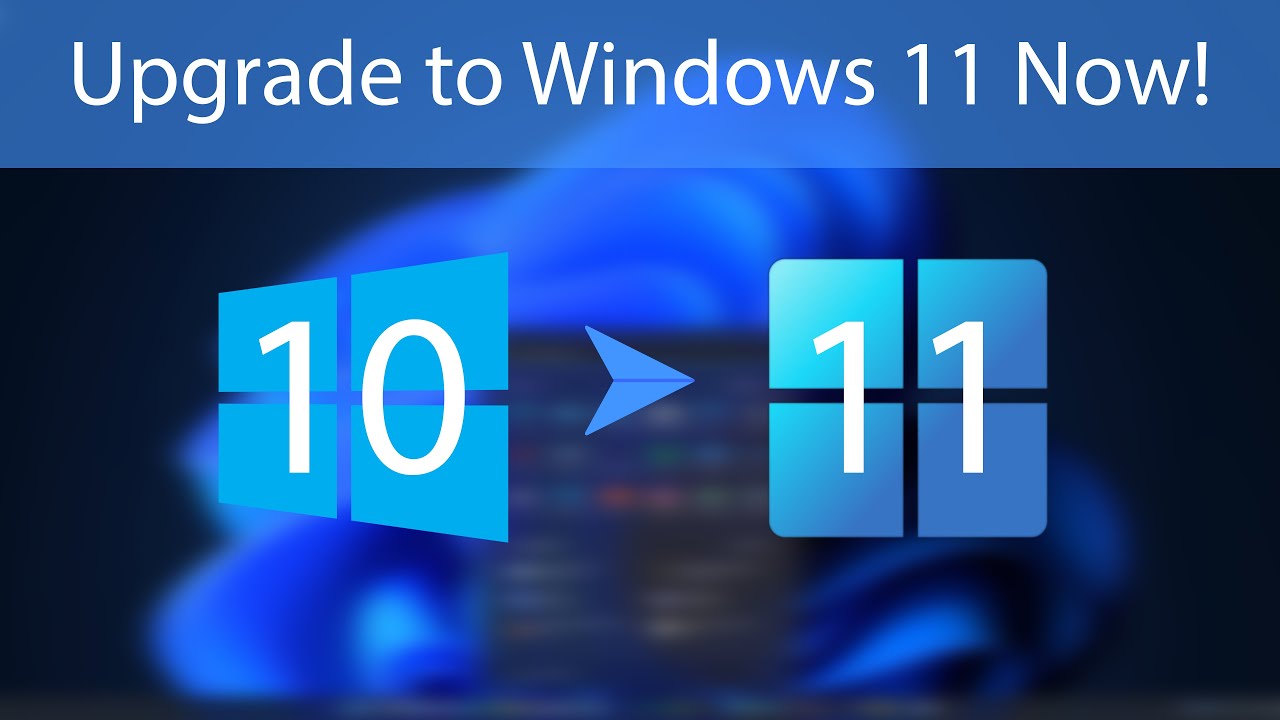
Upgrading to Windows 11: A Step-by-Step Guide
Windows 11 is the latest operating system from Microsoft, featuring a sleek new design, enhanced productivity features, and improved performance. If you’re eager to experience the latest in Windows technology, upgrading is a straightforward process. Follow these step-by-step instructions to upgrade your system to Windows 11.
Step 1: Check System Requirements
Before you begin the upgrade process, it’s crucial to ensure that your computer meets the minimum system requirements for Windows 11. These requirements include a compatible 64-bit processor, 4 GB of RAM or more, 64 GB of storage or more, a DirectX 12 compatible graphics card, and a high-definition (720p) display that is greater than 9” diagonally.
Step 2: Backup Your Data
While the upgrade process is designed to preserve your files and applications, it’s always a good practice to back up your important data before making significant changes to your system. Consequently, use an external hard drive, cloud storage, or a reliable backup tool to safeguard your files
Step 3: Check for Windows Updates
Make sure your current version of Windows is up-to-date by checking for and installing any available updates. This ensures a smoother transition to Windows 11.
1. Open Settings by pressing `Win + I`.
2. Go to Update & Security.
3. Click on Windows Update and select Check for updates.
Step 4: Download the PC Health Check Tool
To verify whether your PC meets the system requirements for Windows 11, download and run the PC Health Check Tool provided by Microsoft. This tool will assess your system’s compatibility and highlight any areas that need attention.
1. Visit the official Microsoft website.
2. Search for “PC Health Check Tool.”
3. Download and run the tool to get a compatibility report.
Step 5: Reserve Your Free Upgrade
Once your system passes the compatibility check, you can reserve your free upgrade to Windows 11.
1. Open the Windows Update settings as mentioned in Step 3.
2. Click on Check for updates
3. If your system is eligible, you’ll see an option to Download and install Windows 11. Click on it to begin the process.
Step 6: Install Windows 11
After the upgrade files are downloaded, the installation process will commence. Your computer may restart several times during this process, so ensure you save any unsaved work before proceeding.
1. Follow the on-screen instructions to begin the installation.
2. Choose your preferences for settings like language, time, and keyboard input.
3. Click on **Install now** and follow the prompts to complete the installation.
Step 7: Set Up Windows 11
Once the installation is complete, you’ll need to go through the initial setup of Windows 11.
1. Sign in with your Microsoft account or create a new one.
2. Customize your settings, such as privacy preferences and color themes.
3. Follow the on-screen instructions to complete the setup.
Congratulations! You have successfully upgraded to Windows 11. Explore the new features, redesigned Start menu, and improved performance that come with Microsoft’s latest operating system.
Remember to check for updates regularly to ensure your system stays secure and up-to-date with the latest enhancements from Windows